echarts横坐标轴为时间时,自定义显示时间粒度(时间间隔)
最近参加一个开源项目在使用echarts,发现好多人遇到需要自定义X轴时间刻粒度这个问题,为此发篇文章给大家讲解一下
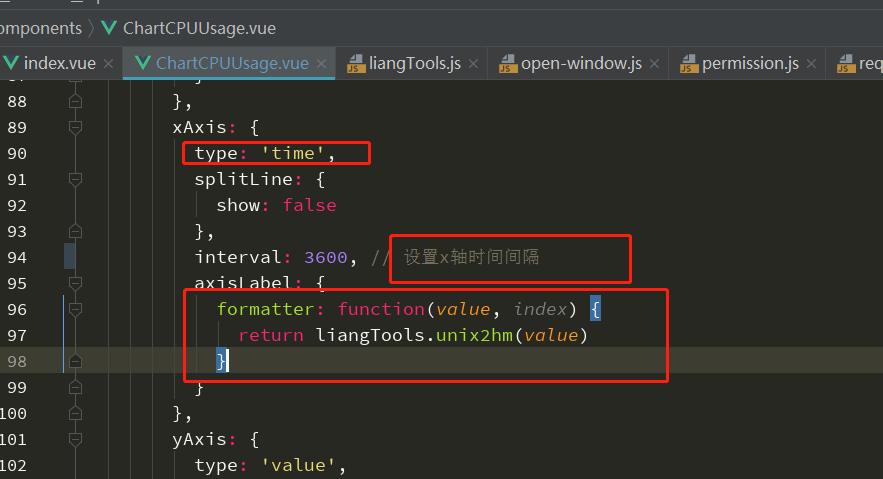
1、代码判断
xAxis: {
  type: 'time',
  splitLine: {
    show: false
  },
  interval: 3600, // 设置x轴时间间隔
  axisLabel: {
    formatter: function(value, index) {
      return liangTools.unix2hm(value)
    }
  }
},
首先要把xAxis 显示类型设置成time,然后设置对应X轴时间间隔,也就interval对应的参数,这个大家需要注意下,如果后台返回的时间戳是毫秒级的那么axisLabel下formatter定义中返回日期也是根据对应来进行转换,如果是基于秒的那么formatter也要基于秒来去转换日期格式,否则会不匹配
然后为了以后偷懒可以,把日期转换方法及毫秒转换秒的方法都贴上
unix2hm: function(v) {
    if (/^(-)?\d{1,10}$/.test(v)) {
      v = v * 1000
    } else if (/^(-)?\d{1,13}$/.test(v)) {
      v = v * 1000
    } else if (/^(-)?\d{1,14}$/.test(v)) {
      v = v * 100
    } else if (/^(-)?\d{1,15}$/.test(v)) {
      v = v * 10
    } else if (/^(-)?\d{1,16}$/.test(v)) {
      v = v * 1
    } else {
      alert('时间戳格式不正确')
      return
    }
    const dateObj = new Date(v)
    const hours = dateObj.getHours() > 10 ? dateObj.getHours() : '0' + dateObj.getHours()
    const minutes = dateObj.getMinutes() < 10 ? dateObj.getMinutes() + '0' : dateObj.getMinutes()
    const UnixTimeToDate = hours + ':' + minutes
    return UnixTimeToDate
  },
  millToSecond: function(time) {
    return     Math.round(time / 1000)
  }
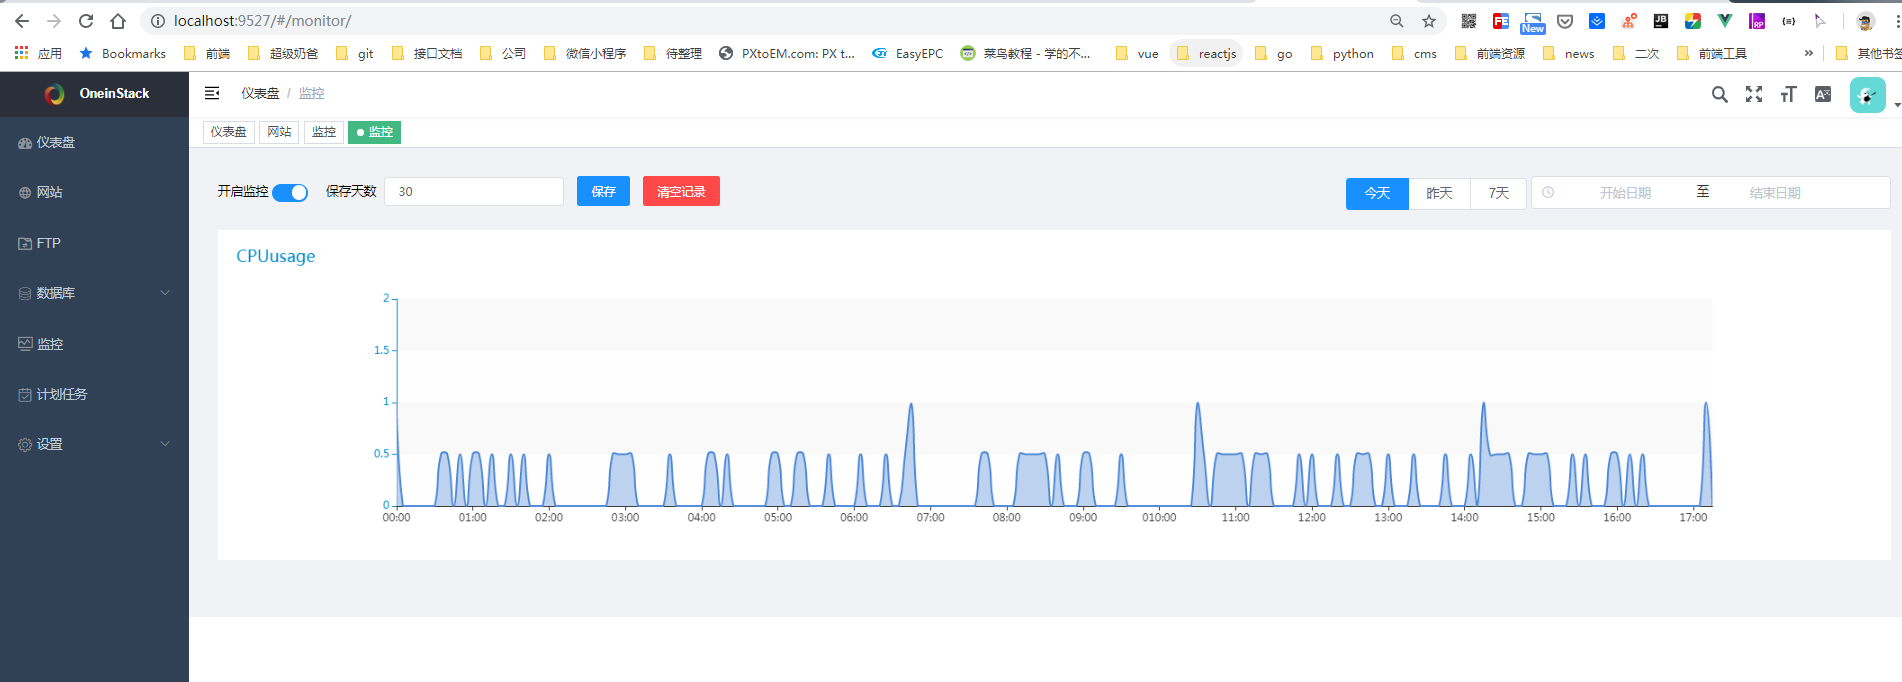
最后看先完成后的显示效果

版权声明:本文为李维亮博主的原创文章,遵循CC 4.0 BY-SA版权协议,转载请附上原文出处链接及本声明。
原文链接:https://www.liweiliang.com/1014.html
评论已关闭